Roadmap for integrating your laboratory with DSO.
For the correct operation of the system, please follow these instructions for system settings.
Step 1 - Minimum Settings
Step 1 includes the minimum settings required for the system to work:
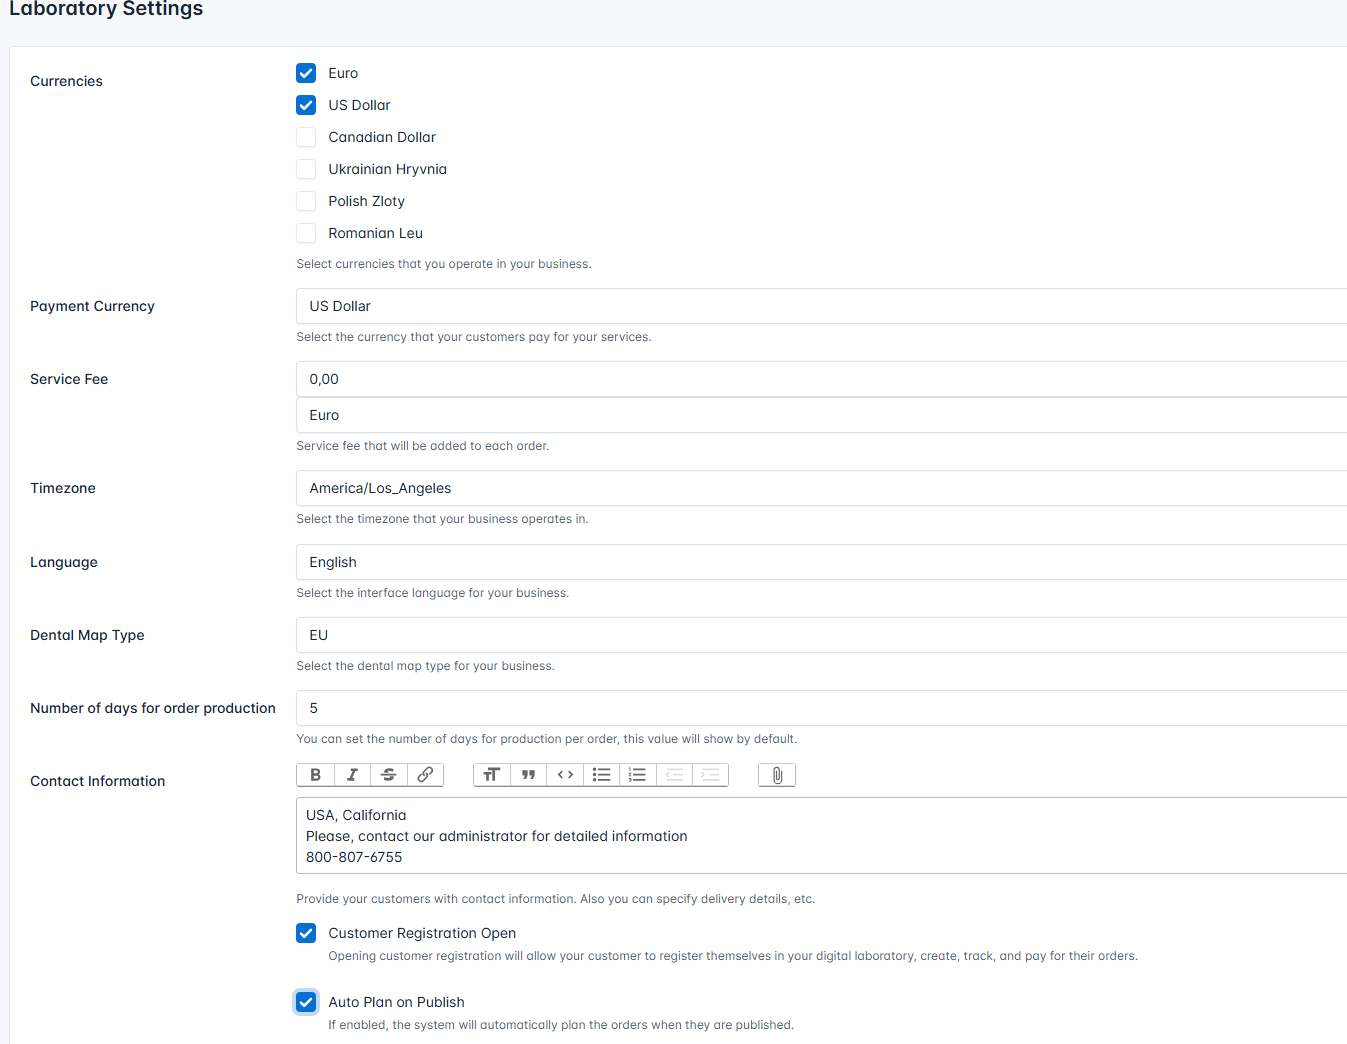
In the "Settings" section, select:
- • Currency (in "Exchange Rates" subsection)
- • Timezone
- • Language
- • Average production time per case
- • Contact information (which the customer can use to contact you)
- • Check "Automatically plan tasks in the order after publication"
- • Check "Doctor registration is open"
More detailed information about system settings is available on the "Working with settings" page
In the "Services" section, add a list of services.
To add services, do the following:
- 1. Go to the system section "Services".
- 2. Click the "New Service" button.

3. In the New Service creation form:
- • Enter the group name to which you want to add the service, or select a previously created group from the drop-down list.
- • Enter the service name.
- • Enter the service price. Be sure to select the appropriate currency.
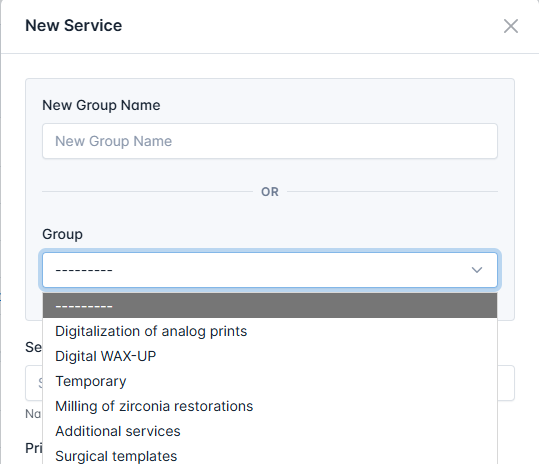
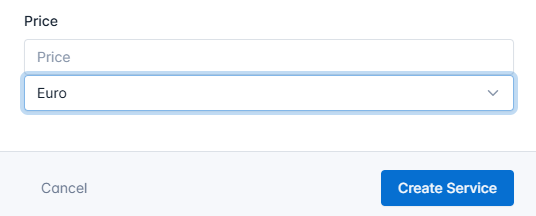
4. Click the "Create Service" button.
Add doctors to the system.
First, you can add those doctors whose orders you are already fulfilling.
⚠️ Important:
When adding a doctor to the system, we recommend not specifying an email address. The address can be added later - when the doctor needs to have their own account. Then you will enter the email address and invite the doctor to the system (click the invite button). A letter with a link will be sent to the specified email address. The doctor will follow the link and create a password. After these actions, the doctor will have their own online account in your laboratory.
If the doctor registers with your laboratory themselves, you will not need to do any of these steps.
To add a doctor to the system, do the following:
- 1. Go to the "Doctors" section of the system.
- 2. Click the "Create" button and select "Doctor" from the drop-down list.

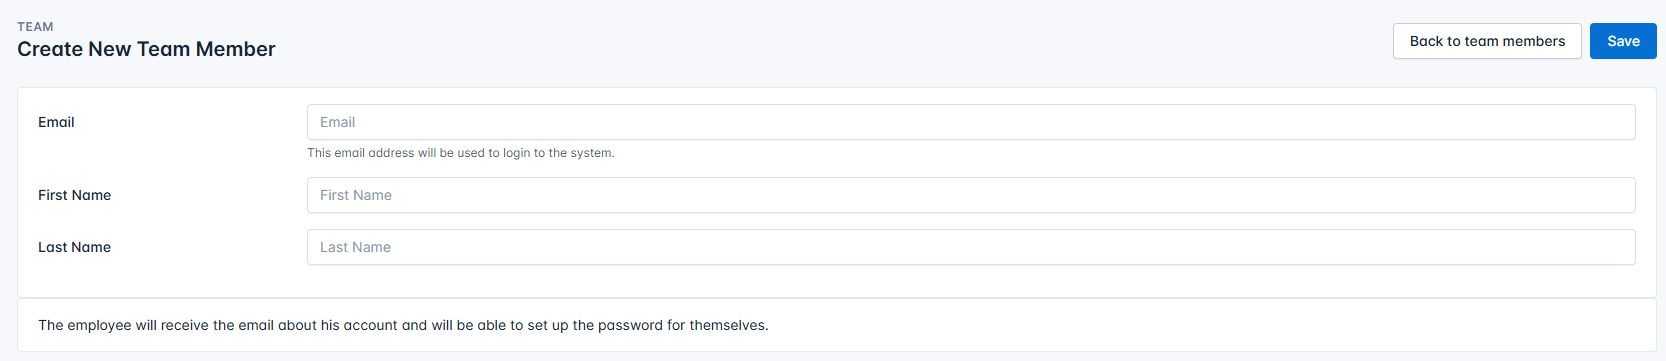
3. On the Create New Doctor page:
- • Select the name of the clinic where the doctor works. If the clinic has not been added to the system, go to creating a clinic first.
- • Enter the doctor's full name.
- • Add the doctor's contact information.
- • Add a tag - used for additional filtering of doctors in the system. For example, VIP customer.
- • Details - payer details that appear on the invoice.
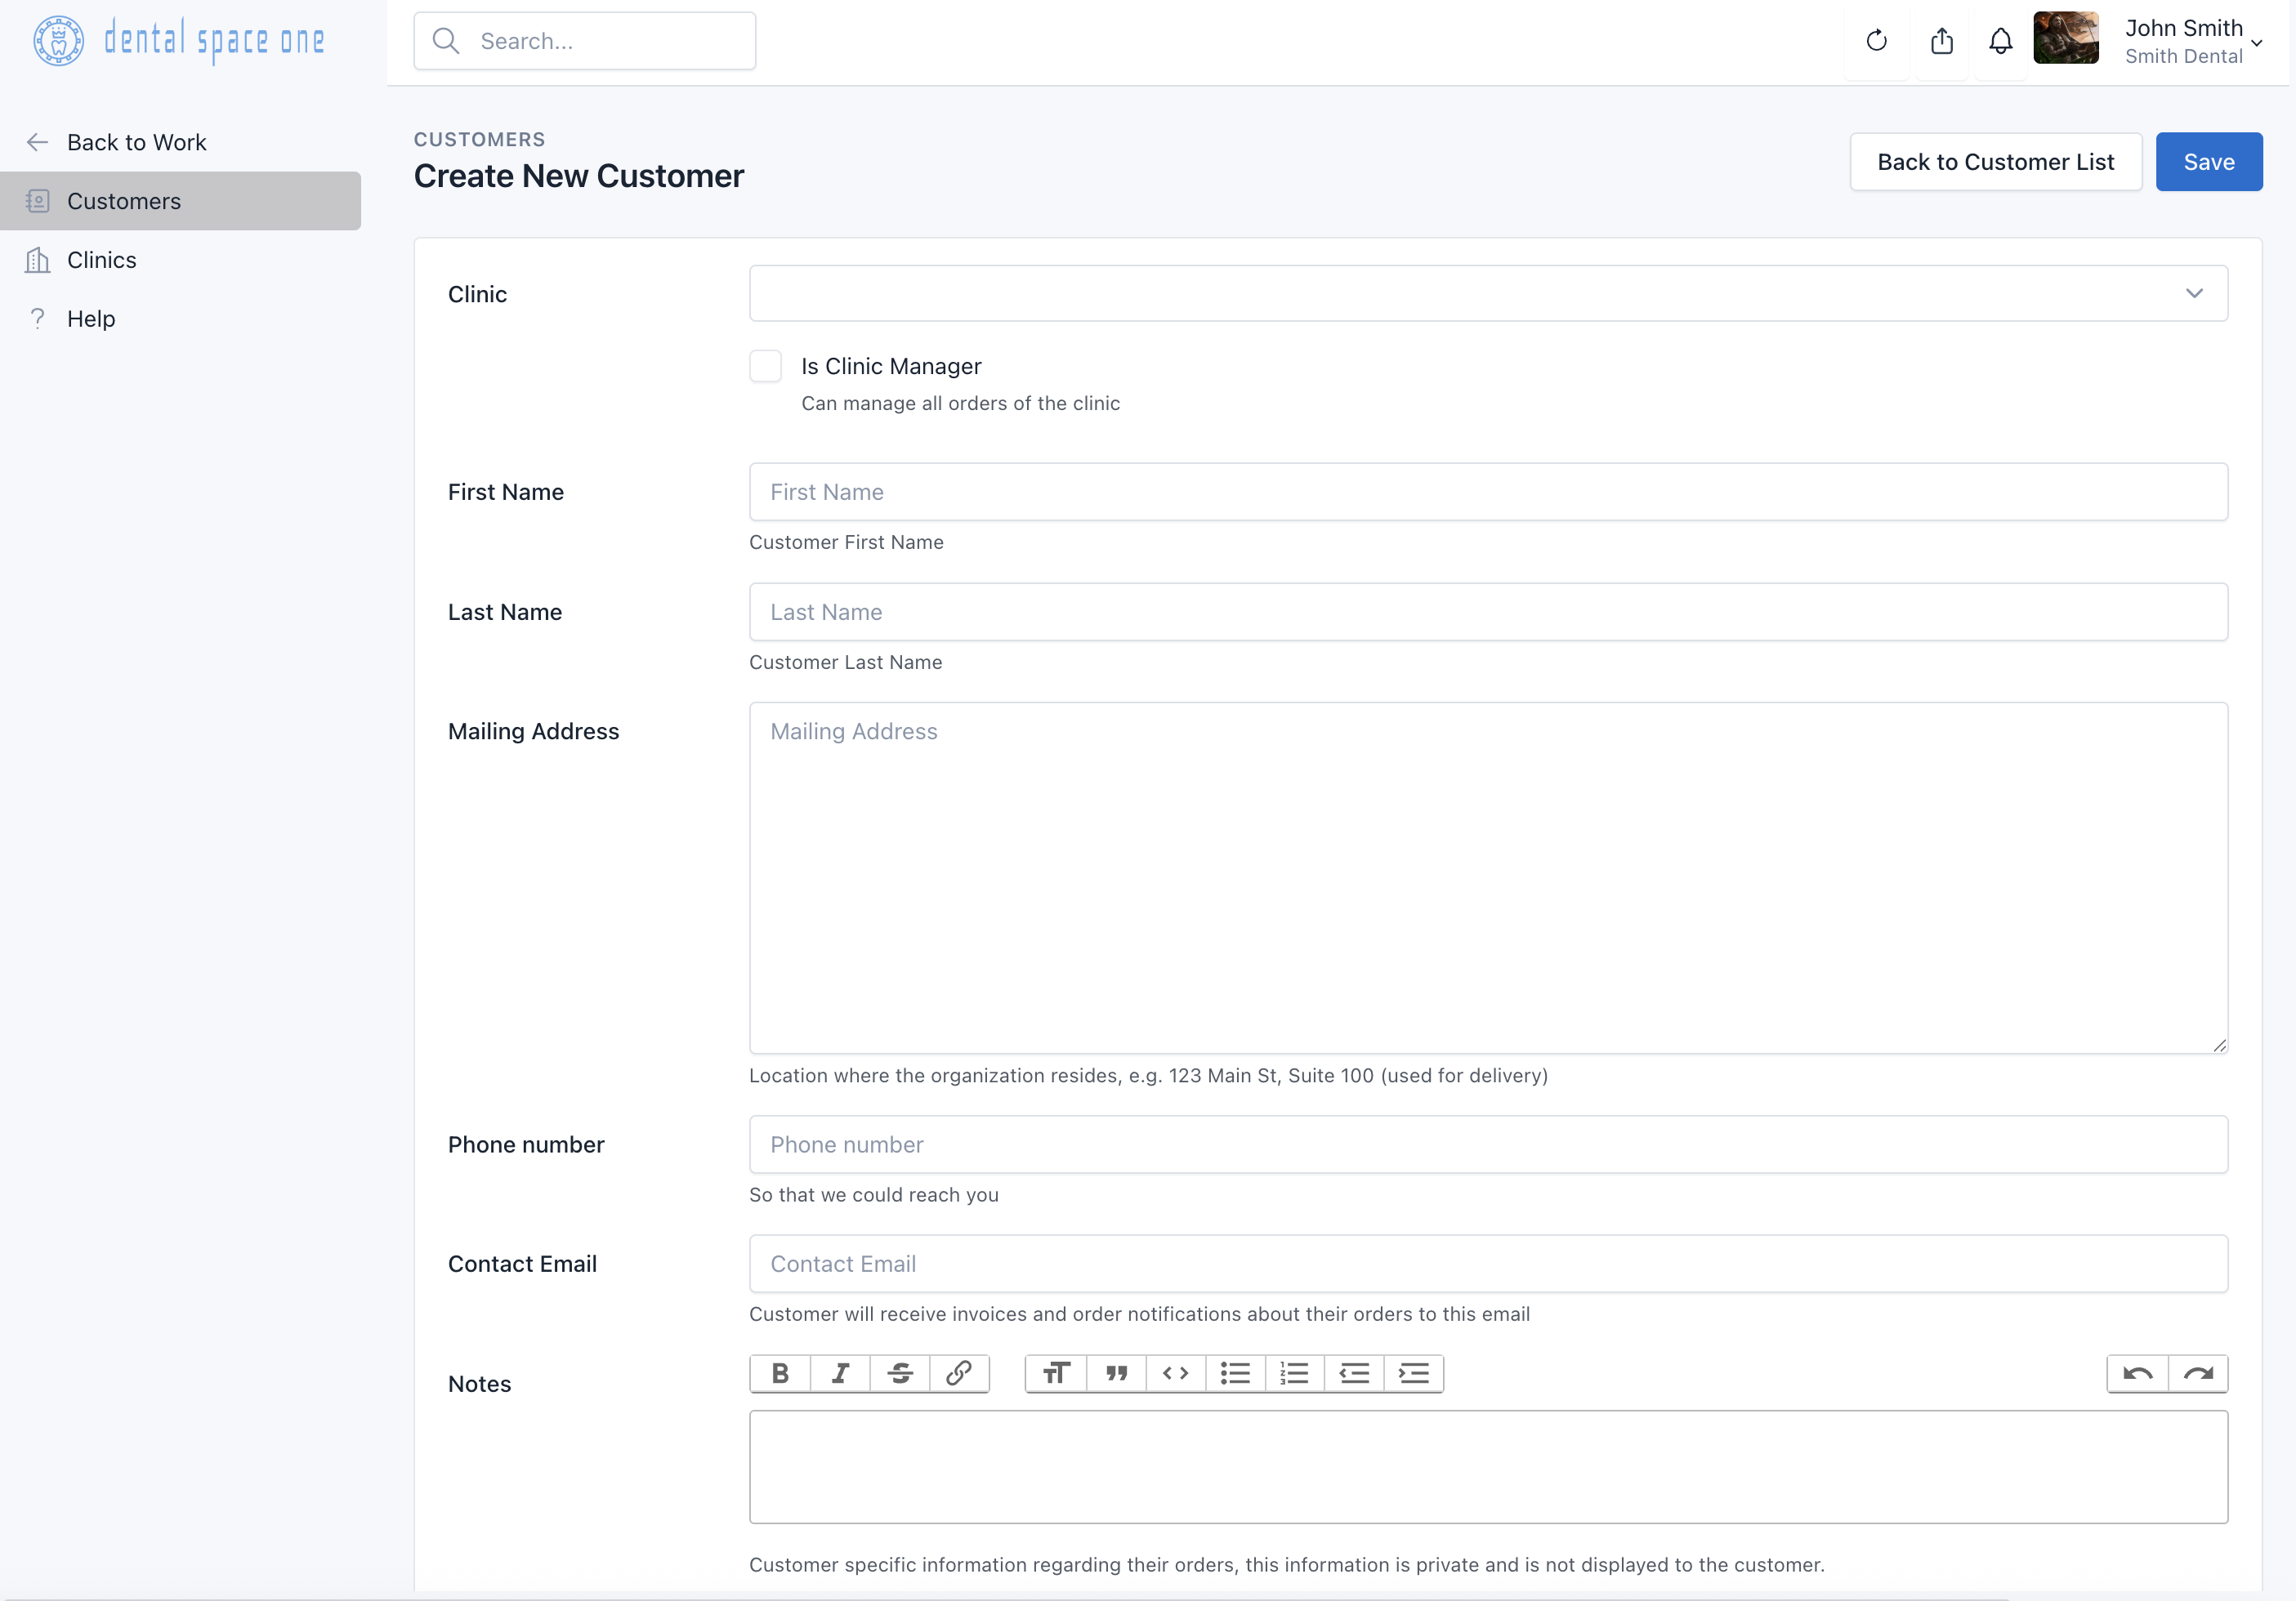
4. Click the "Save" button.
⚠️ Important:
At this stage, the system is ready to use and create orders. You can start working with the basic functionality.
The following steps (clinics, pricebooks) are optional and add more capabilities for managing clients and pricing.
Add clinics to the system.
To add a clinic to the system:
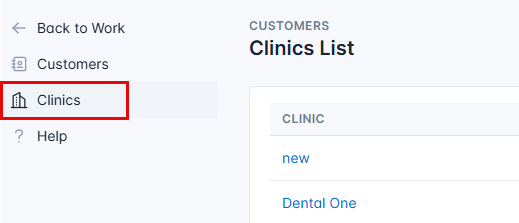
- 1. Go to the "Doctors"-"Clinics" section of the system.
- 2. Click the "Create Clinic" button.

3. In the Create New Clinic page:
- • Enter the clinic name.
- • Enter the mailing address and any additional information required.
4. Click the "Save" button.
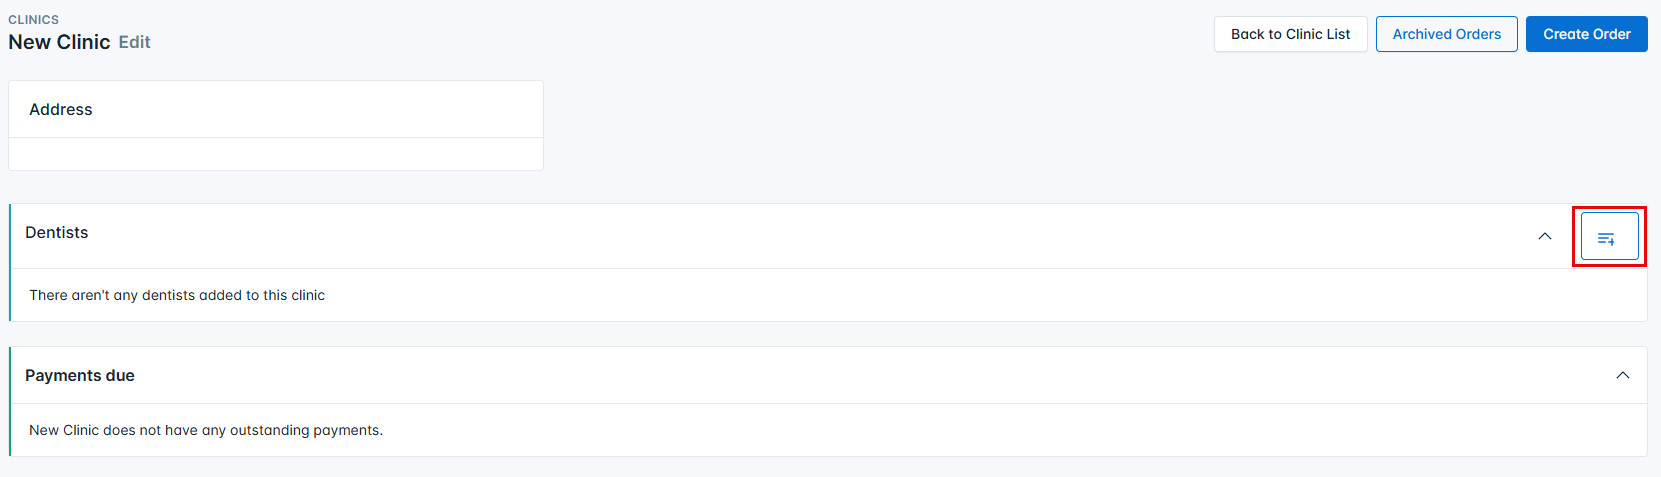
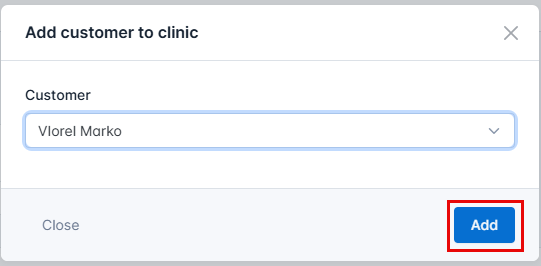
5. Add dentists to the clinic. Click the icon  and select the doctor from the drop-down list.
6. Click the "Add" button.
Create a Price Book and link it to the clinic.
Do the following:
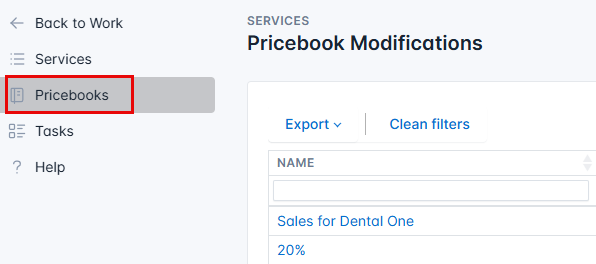
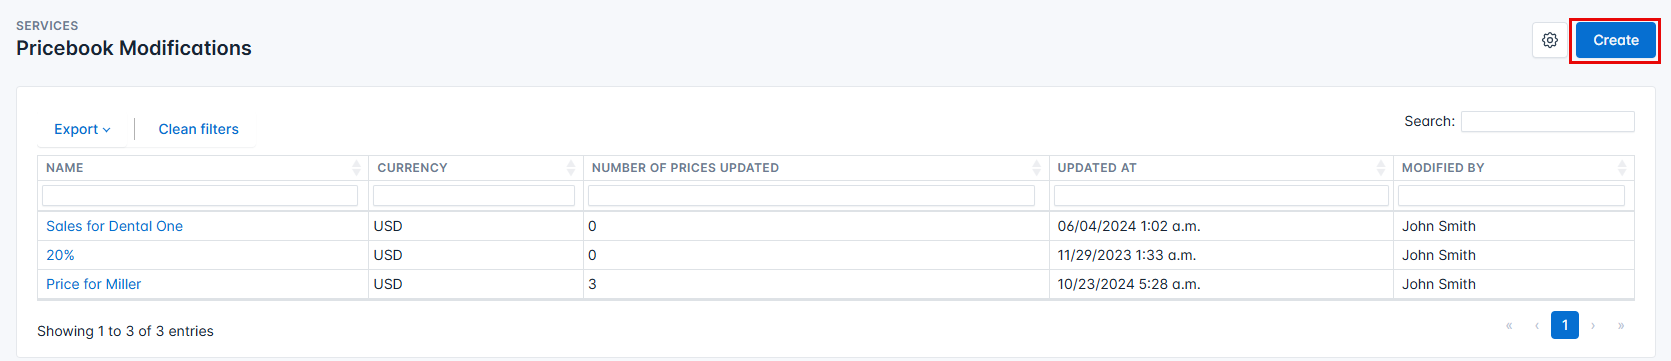
- 1. Go to the "Services"-"Pricebooks" section.
- 2. Click the "Create" button.
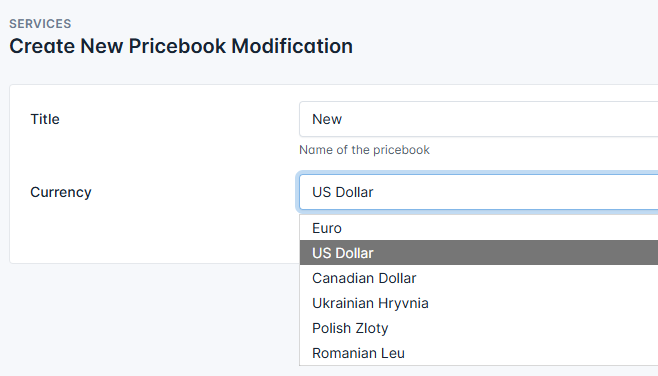
- 3. Enter the pricebook name and select the appropriate currency.
- 4. Click the "Save" button.
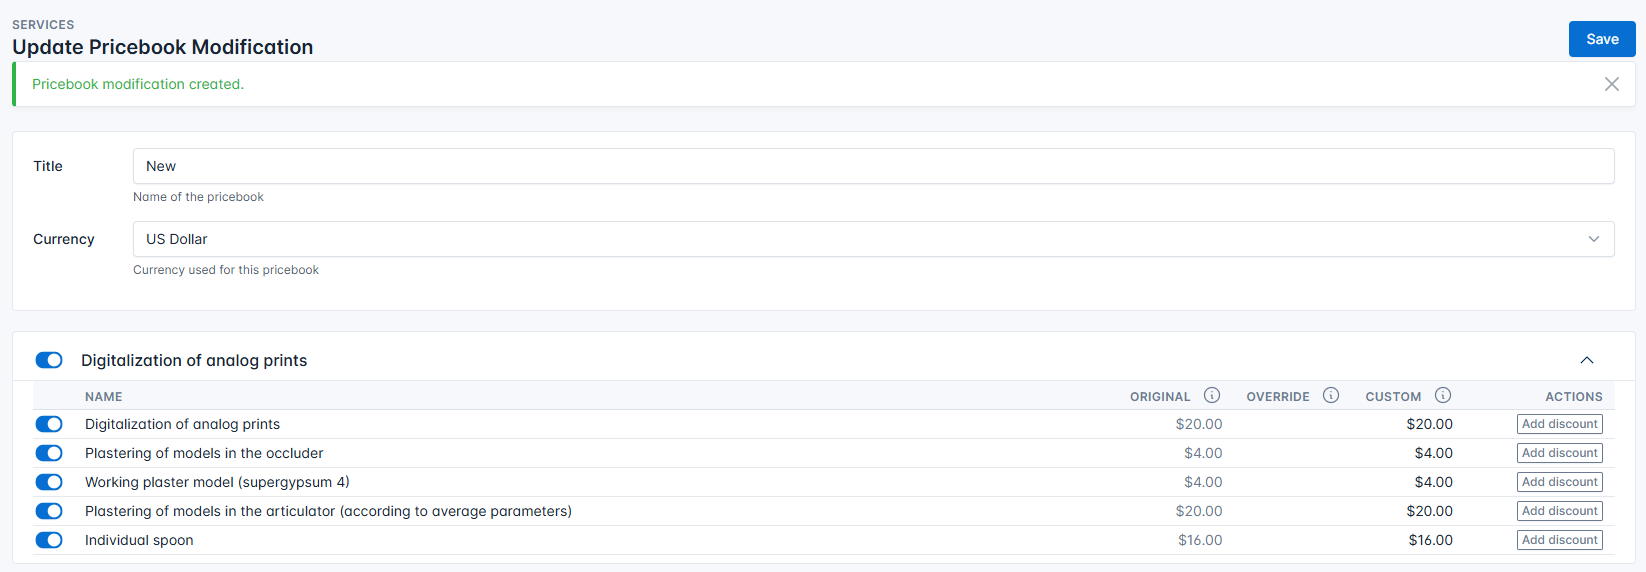
- 5. Define discounts on services in the price list that appears after creating the pricebook.
ℹ️ Important: There are three types of discounts:
- • Percentage - A certain percentage that you have determined for the clinic is deducted from the amount for the service
- • Static - The amount you entered is deducted from the amount in the price list
- • Absolute price - You enter a new amount that the customer must pay for the service
To define discounts:
- 1. Select the service for which you need to define a discount and click the button in the "Actions" column.
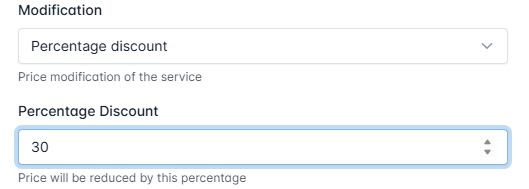
- 2. Select the discount type from the drop-down list.
- 3. Enter the amount depending on the selected discount type.
- 4. Click the "Confirm" button.


As a result, the system displays the original price and the price with the discount applied.

5. Click the "Save" button.
Next, you need to attach the pricebook to the clinic:
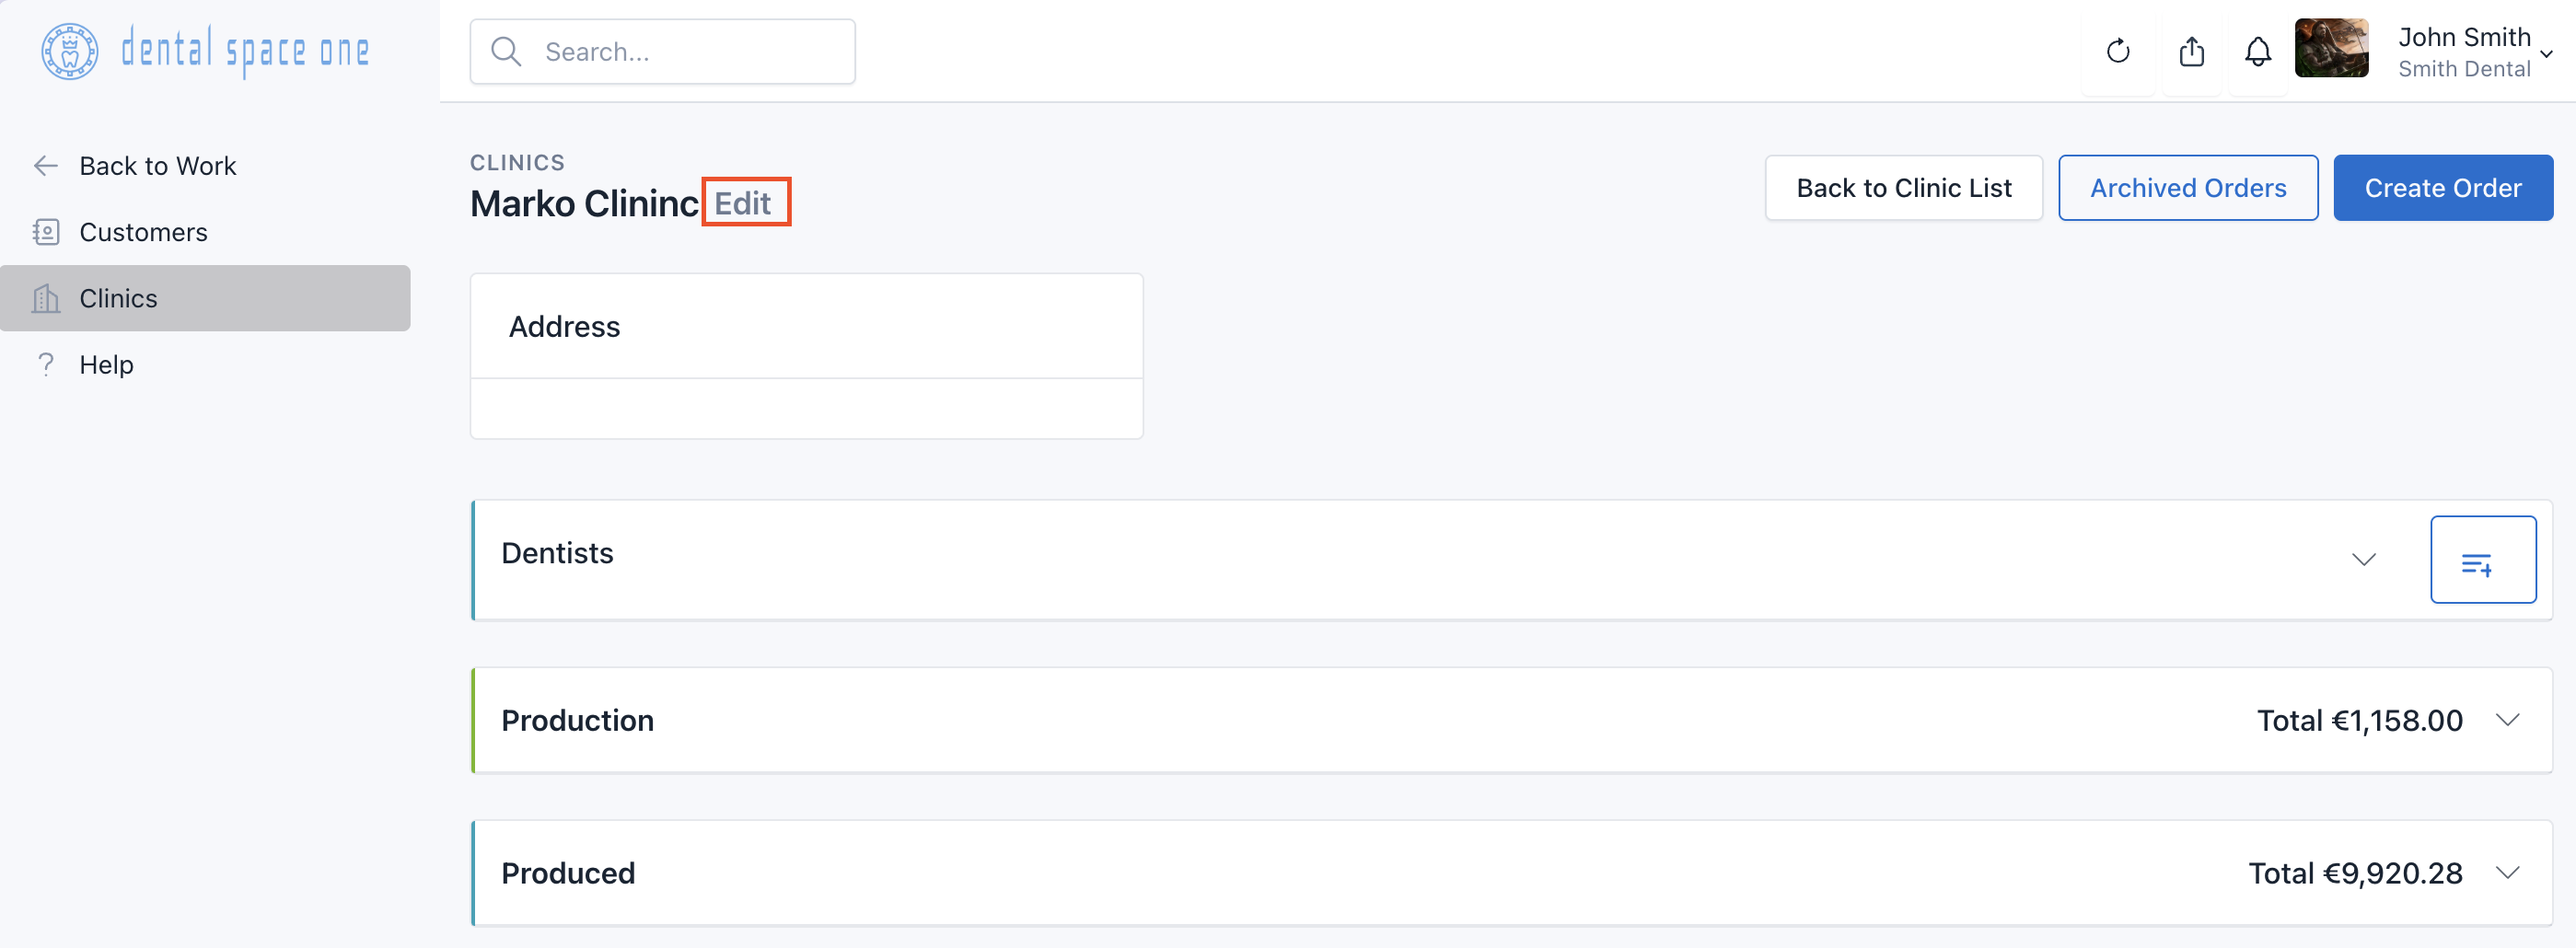
- 1. Go to the "Doctors"-"Clinics" section.
- 2. Select the clinic for which you created the pricebook with discounts.
- 3. On the clinic page, click the "Edit" button.
- 4. On the clinic editing page, select the pricebook with discounts.
- 5. Click the "Save" button.
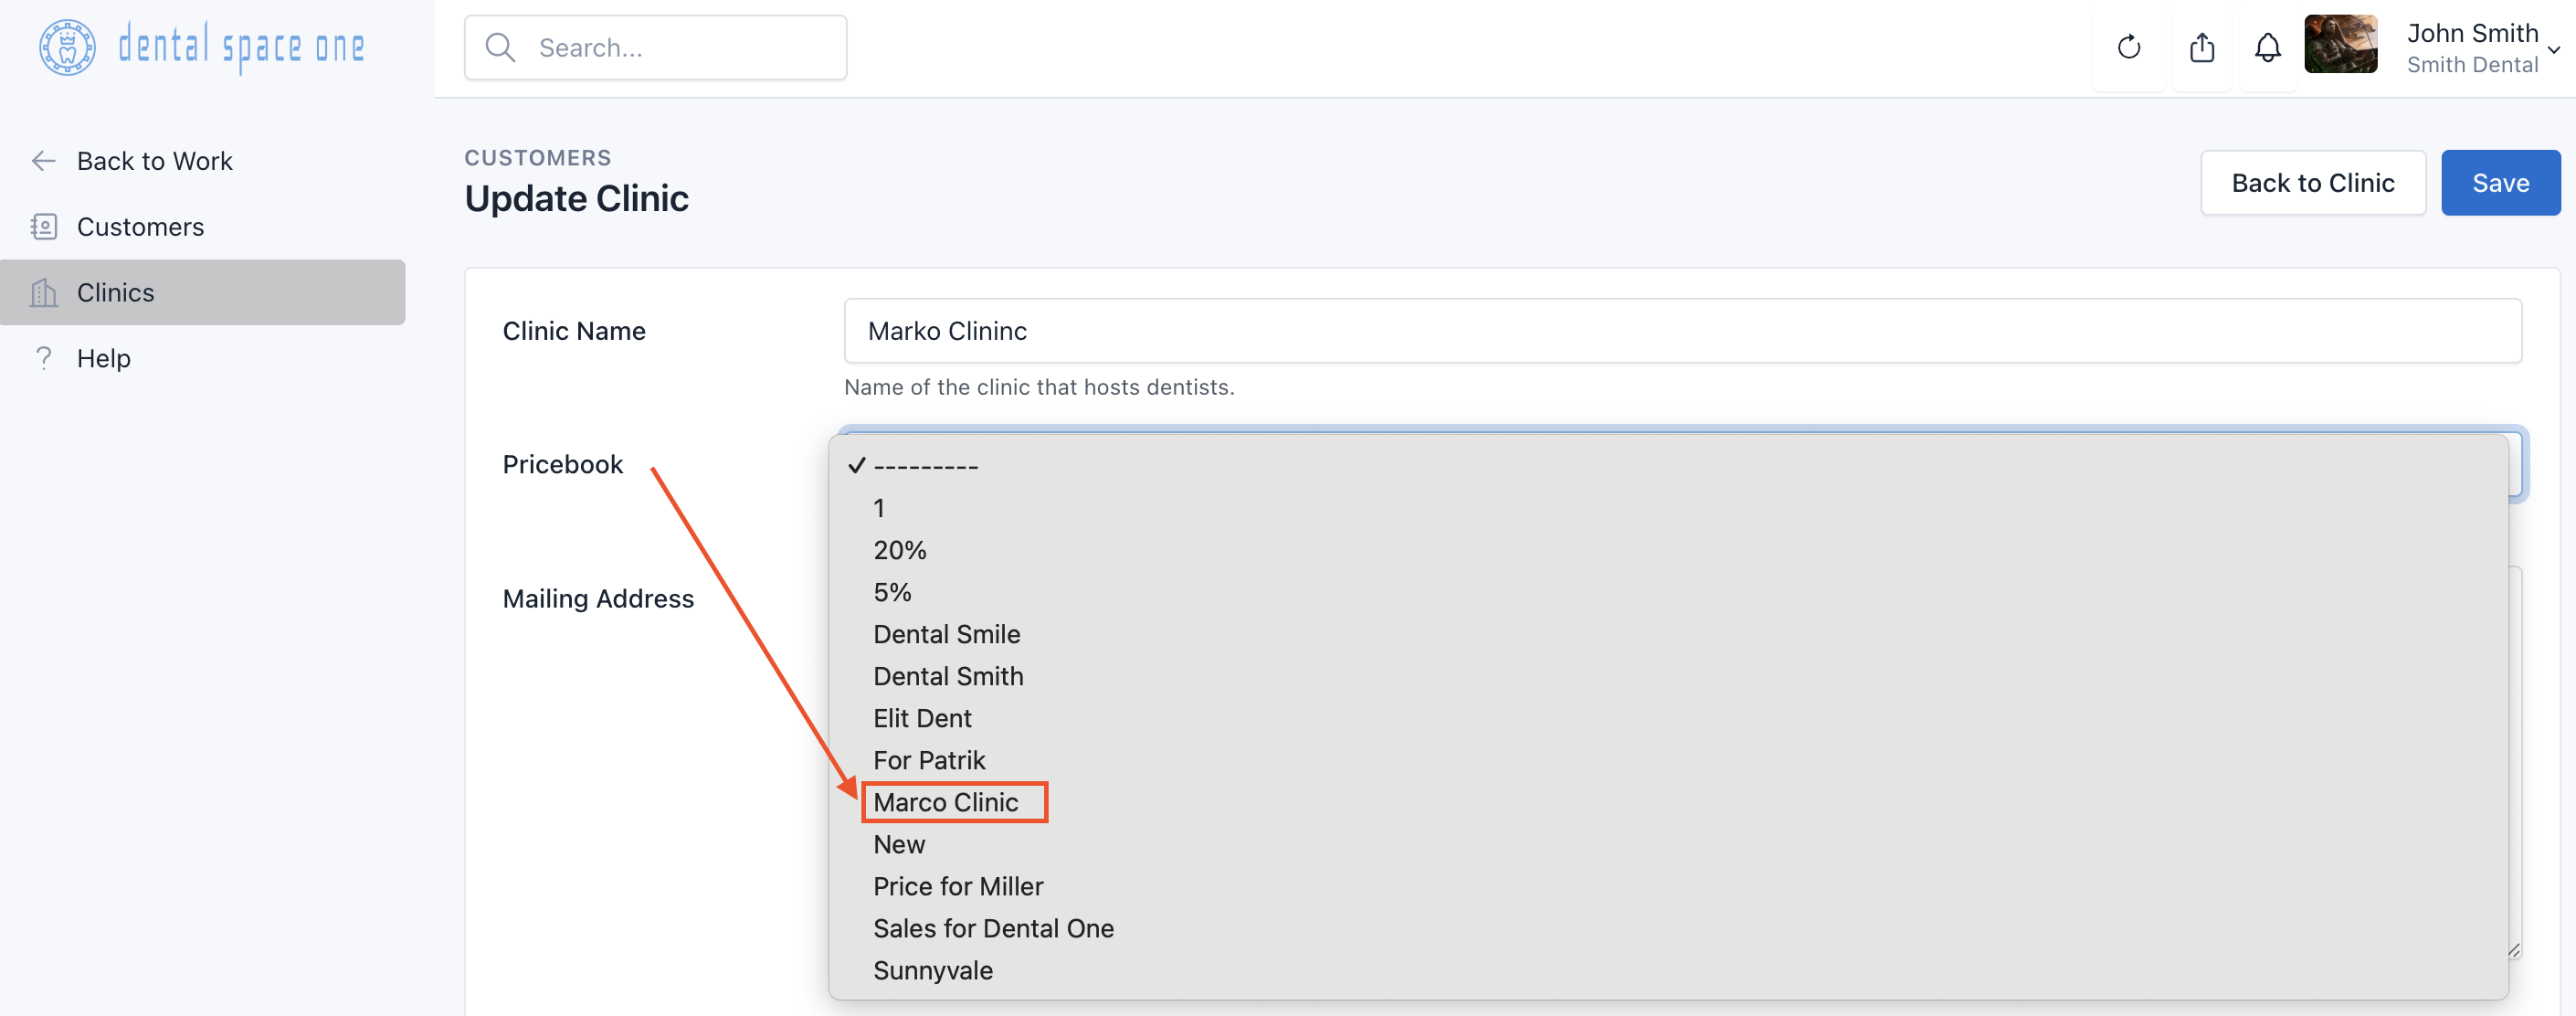
As a result, for services for which a discount was defined, the amount with this discount will be displayed.
✅ This completes the main Step 1. The system is ready for use and you can process orders.
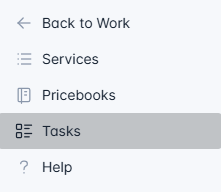
Step 2 - Team and Tasks

Step 3 - Other Settings
Thank you for using DSO! Dental Space One, LLC 2025 © All rights reserved. The provisions set forth herein may be updated. Please check them periodically for changes.